exposure

Why Manual Mode Is Important

This is a topic I take very seriously, so I'm going to start this blog with a very controversial statement:

You will never become a successful photographer if you don't know how to use manual mode. 

Of course, this may irk some of you. You may think, "Well, I take good pictures on automatic, I don't need to learn manual mode." Manual mode on your camera isn't the same as manual transmission on a car, manual mode on your camera is analogous to knowing how to drive.

Understanding how to control the mechanics and relationships of your camera settings will make you a better photographer. Period.

Street Seen.

Street Seen.

Let's take a step back here. By now you may have read my Exposure Series, where I outline the three pillars of exposure, and the purposes and consequences of each of them. This blog post is a companion piece, explaining less the mechanics of manual exposure, and more the philosophy. And yes, there's a philosophy to using manual mode. There's plenty of good reasons why you should use modes other than manual, such as aperture priority or shutter priority, but my strongest contention is that you should never use automatic mode. Again, a very absolute and controversial statement. What is philosophy without absolutes? 

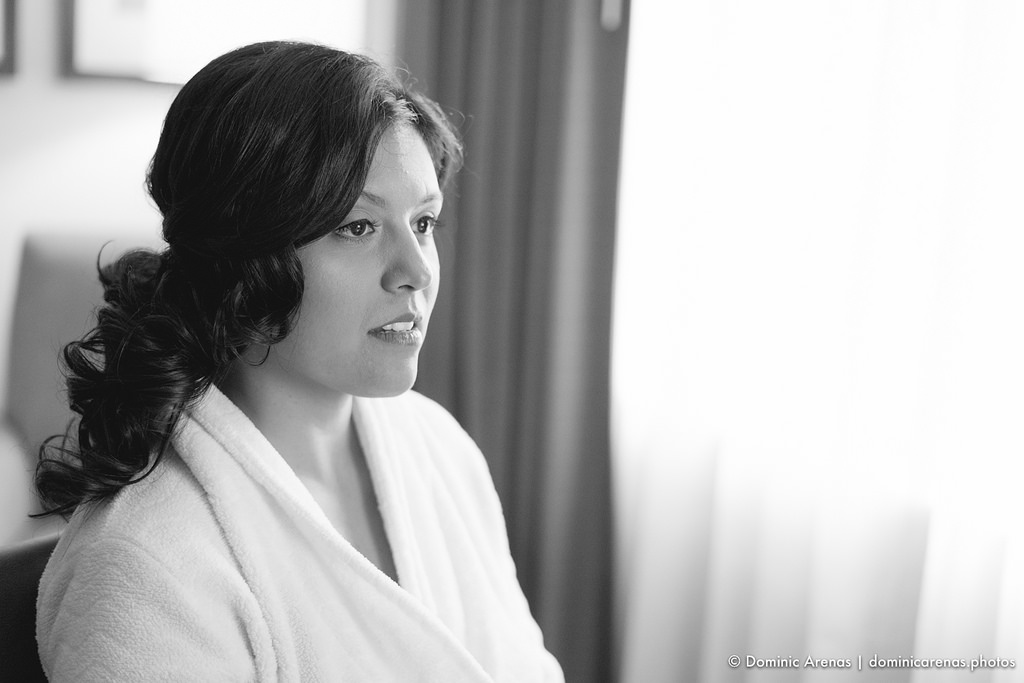
Linda in light.

Linda in light.

Automatic mode is the inevitable conclusion to the goal of making photography effortless. This mode will make all of the determinations for you, aside from composition. It will calculate the optimal exposure for any given scene, whatever it may be. However, it's only doing this based on what the camera itself sees, not what you see. And therein lies the disadvantage of automatic mode. You are an artist. You look at a scene, a subject, a model, and your eye is drawn to something specific. A shape. A form. Texture. Shadows. Depth. Your camera doesn't see these things. Your camera looks at a scene, determines what you're focusing on, if it's a person or landscape, adjusts the aperture, shutter, and ISO so that you get a pleasing exposure. But what if you want to isolate your subject, using a low f-stop? Only you know that, your camera can't figure out that's your vision unless you manually set it. 

Caricature of a caricaturist. 

Caricature of a caricaturist. 

I understand that when you're on a shoot, or out street shooting, that speed is the key. You want to take the shot as fast as you can, before that panhandler's cat stops looking at you. Automatic mode makes exposure mindless. But it's a trick. A gamble. You leave it up to chance, and this is not how a successful photographer works. It's become much easier to be less disciplined thanks to digital camera, with the 24 exposure per roll limit a thing of the past, and burst mode that lets you take as many photos as you can in a short period of time. You can hope that one of those two advantages of digital photography will provide you with some good shots. But if not, there's always Photoshop.

All of the lights. 

All of the lights. 

Yes. Photoshop. Just photoshop it. It's a great tool, I'll admit. But there is no tool that makes up for getting the image you want right out of the camera. Sure, it's easy to blur out backgrounds in Photoshop to your liking, but what about the foreground? That's a bit trickier, but when you do achieve a shallow depth of field when you shoot, you don't have to worry about it! When you tell the camera what to do, you don't have to finagle the image into looking like you want it to. It just does. You use your voice through the dials and switches on your camera, and you create the exact image you want. And you save yourself a lot of time editing, you don't have to take a sup-par image and bring it to where you want it. It just is. 

Black and white. 

Black and white. 

The old saying goes, you have to know the rules before you can break them. When you understand the pillars of exposure, it becomes second nature. You'll fumble at first. You might miss the shot a few times. But when you speak the language of exposure, it becomes effortless. You'll reference the light meter, but if you want the scene to be overexposed, you'll know how to do it! You might need to take a few test shots and work out what you want to change, but that's better than having to change it in Photoshop. One thing to think about it that when you change exposure in Photoshop is that you're stretching the limits of the image, bringing out detail from the image that may or may not be present. If it's not present, Photoshop must compensate, and the way it does that is by creating noise. 

A gateway.

A gateway.

Finally, I want to cover two other common camera modes. I like to think of them as semi-automatic, not quite manual, not quite automatic. Aperture priority is one such mode, it lets you select your aperture, then calculates what the shutter speed should be based on the scene. This is a speedy way to take photos where you know your desired depth of field. The other mode is Shutter Priority, sometimes called Time Value Priority, and it's the opposite: it lets you choose a shutter speed, but leaves f-stop up to what the camera thinks is best. This is good for sports or any kind of photography where you want the quickest shutter speed. And on most cameras, there's an Auto ISO mode that can be turned on in conjunction with Manual, Aperture Priority, or Shutter Priority modes.  This takes ISO out of the equation, although I highly recommend forgetting you ever read about it, as ISO has a huge effect on how your final image turns out. Semi-automatic modes are best used when you know attaining good exposure won't be too big of a problem, such as when you're shooting on a sunny day or with flash.

Exposure Part Three: In Search Of... ISO

 We've made it to the final chapter of the Exposure Series, where I will explain ISO, and how it works in concert with Shutter Speed and Aperture. Make sure to ready the two previous installments, Exposure Part One: The Almighty Aperture and Exposure Part Two: All About Time AKA The Shutter (Speed), before continuing as this chapter focuses heavily on terms and concepts covered in those previous posts. Now with that out of the way, ISO is an interesting carry over from the days of film. With shutter speed and aperture, the mechanics are identical on a film camera and a digital camera. But since ISO is a quality of film, it's often overlooked when learning about digital photography. Let's remedy that!

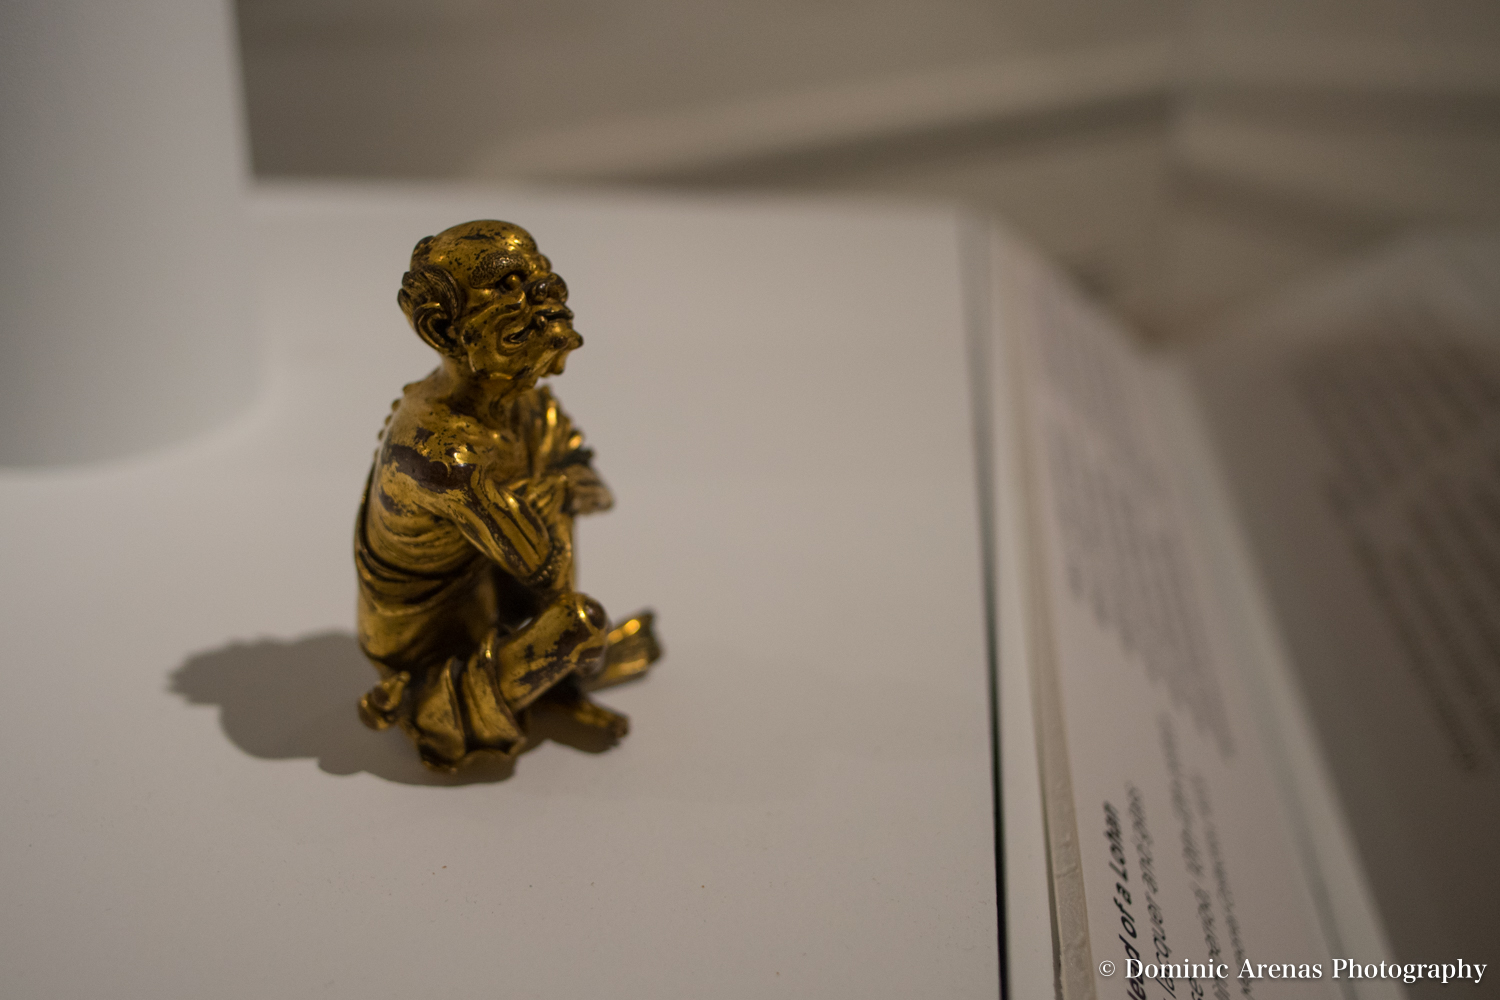
Sitting Demon.

Sitting Demon.

Simply put, ISO is the film's (or sensor's) sensitivity to light. To understand ISO from a pragmatic standpoint, we have to think about it in terms of its original application with film, as its usage in digital photography is indicated by its film use. Let's get the name out of the way first, ISO stands for International Organization of Standardization. We refer to ISO in film because there was a point where there were several film sensitivity standards, but ISO became the most widely accepted standard. Now that we know that, it's really not relevant to how film itself works, but it helps you understand a bit of the history of film. So, how does film work? Basically, you have a piece of celluloid with silver grains which are exposed to light, creating an image. If you have film with smaller grains of silver, you get a sharper, finer image. With larger grains, there's less contrast and sharpness, and you get a grainy look, almost as if there were grains of sand or dust on the photograph. Smaller grains take more light or a longer time to expose, and larger grains are able to be exposed with less time or less light. 

Stallion.

Stallion.

Knowing the above, how to we apply that to digital photography? Well, the sensor in your digital camera has its own way of affecting exposure, which works differently but in parallel to film ISO. That is to say, the algorithms and machinations of digital sensors are too complicated to cover here, but they play by the same rules as film ISO. Lower ISO values, like 100, are less sensitive to light, but produce a less grainy image. And as you work your way up, the sensor becomes more sensitive, but you'll see noise on your photos, which is the sensor's equivalent to film grain. So, how does that fit into the exposure balance? 

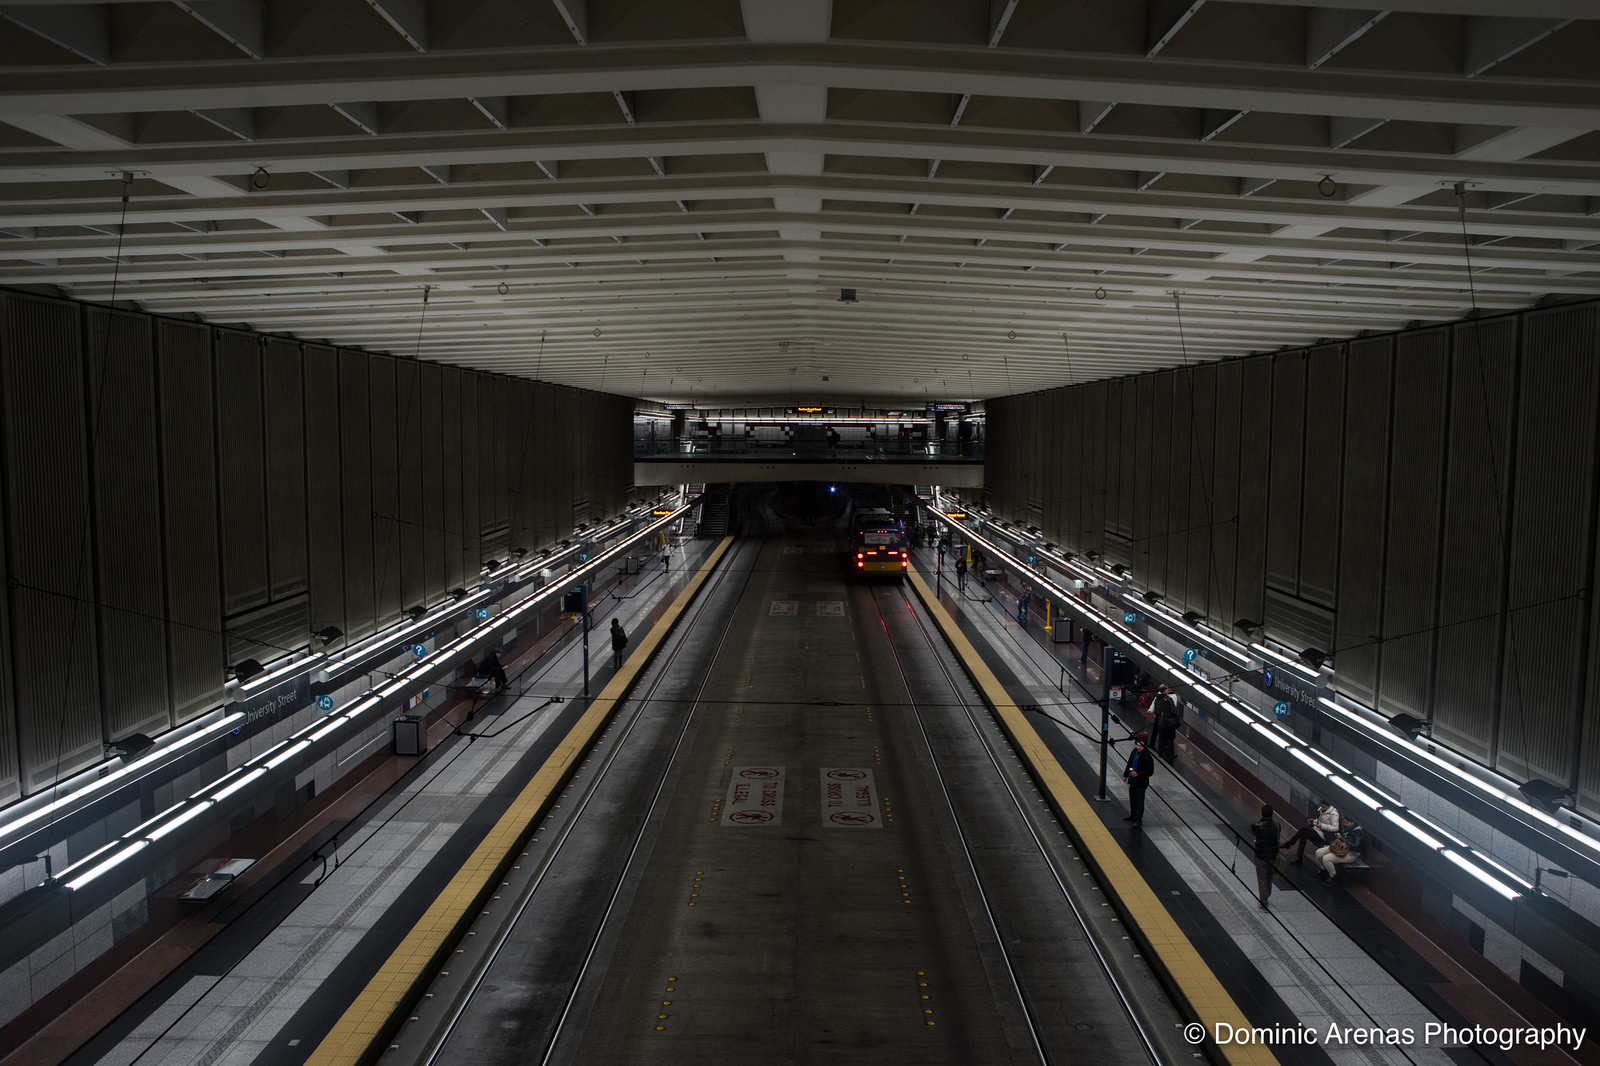
Station.

Station.

Think about it like this: shutter speed and aperture relate to each other in the same way they relate to ISO. For good exposure, you can change aperture, shutter speed, or ISO. Knowing when to change the right setting is key to creating great images. You may find yourself wanting to take a photo of a scene, and capture every single detail, so you set you camera to f22, but this makes your exposure darker. You have some elements in your scene that are moving, and would create motion blur at lower shutter speeds, so you need to be at least 1/150 shutter speed. At this point, you have the settings you want, but your exposure is still too dark. This is where ISO comes in, it gives you that extra exposure that helps you create the image you want. But don't forget that every time you raise your ISO number, you are increasing the potential noise. 

Castle.

Castle.

Sometimes, you don't want to have to set up your shot, your composition, your shutter speed, aperture, and then ISO if needed, so learning how all of the pillars of exposure interact is key to getting the shot you want quickly. Your camera's automatic mode does something similar by calculating one of the many options for perfect exposure, but it doesn't take in to account your artistic voice. In the last entry, I mentioned that when taking photos of still subjects, you should consider what aperture you should use first, then use shutter speed to compensate for over or under exposure. But now that you understand how ISO works, that is the first thing can consider when shooting, even before you leave your home! If you know that it's a sunny, bright day, you don't need to set your ISO too high. However, if you know that your primary subject will be deep, detailed landscapes, maybe you should set a higher ISO, which will give you more breathing room when it comes to your aperture and shutter speed. 

Rainy Days.

Rainy Days.

Now that you know how all three pillars of exposure work together, and see the delicate balancing act, go out and shoot! Shoot on sunny days and see what settings you choose. Shoot on grey, dreary days; shoot indoors, outdoors! You'll start to visualize what your image's exposure will look like before even hitting the shutter button. As with all things, this takes a lot of practice, so go out there and shoot! 

Exposure Part Two: All About Time AKA The Shutter (Speed)

It's time for another installment in the Exposure series, today we'll be discussing shutter speed. Before you continue, be sure to read the first installment, as I'll be referencing how aperture relates to shutter speed. You can find the first part here: Exposure Part One: The Almighty Aperture . Now that that's out of the way, let's get started!

On A Wing...

On A Wing...

Shutter speed is the physical speed that your camera opens and exposes its sensor to light. Your camera has a small curtain that lifts when you press the shutter button and closes after a determinate amount of time. Shutter speed is measured in fractions of a second, with most cameras achieving 1/4000th of a second on the fastest end, all the way down to 30 seconds on the slowest end. There's even a way to leave the shutter open for as long as you need, called "Bulb", but we won't get into that today. Most photography will stay within the fractional range, not extending to slower than even 1/30th of a second. When you're outside, you'll find yourself using faster shutter speeds, and slower for indoors shooting. Knowing the proper settings for indoor and outdoor subjects is an important part of good exposure, but knowing when to break the rules is important to finding your voice. 

In Motion.

In Motion.

As with aperture, shutter speed has an effect on controlling exposure, but that's not necessarily its intent. Shutter speed is a way to either stop motion, or artistically show motion. When you first start learning photography, you want to adjust your shutter speed so it's fast enough to not capture any motion blur, but slow enough to achieve ideal exposure. Let unpack that term, motion blur; it is blur that appears on your image for one of two reasons. First, if you're taking photos of a living subject, like a model or an animal, small unintentional movements will be picked up at slower shutter speeds. Second, when you hold the camera in your hand, no matter how steady you are, it will pick up your own movement at slow enough shutter speeds. The latter instance is where a tripod comes in handy. 

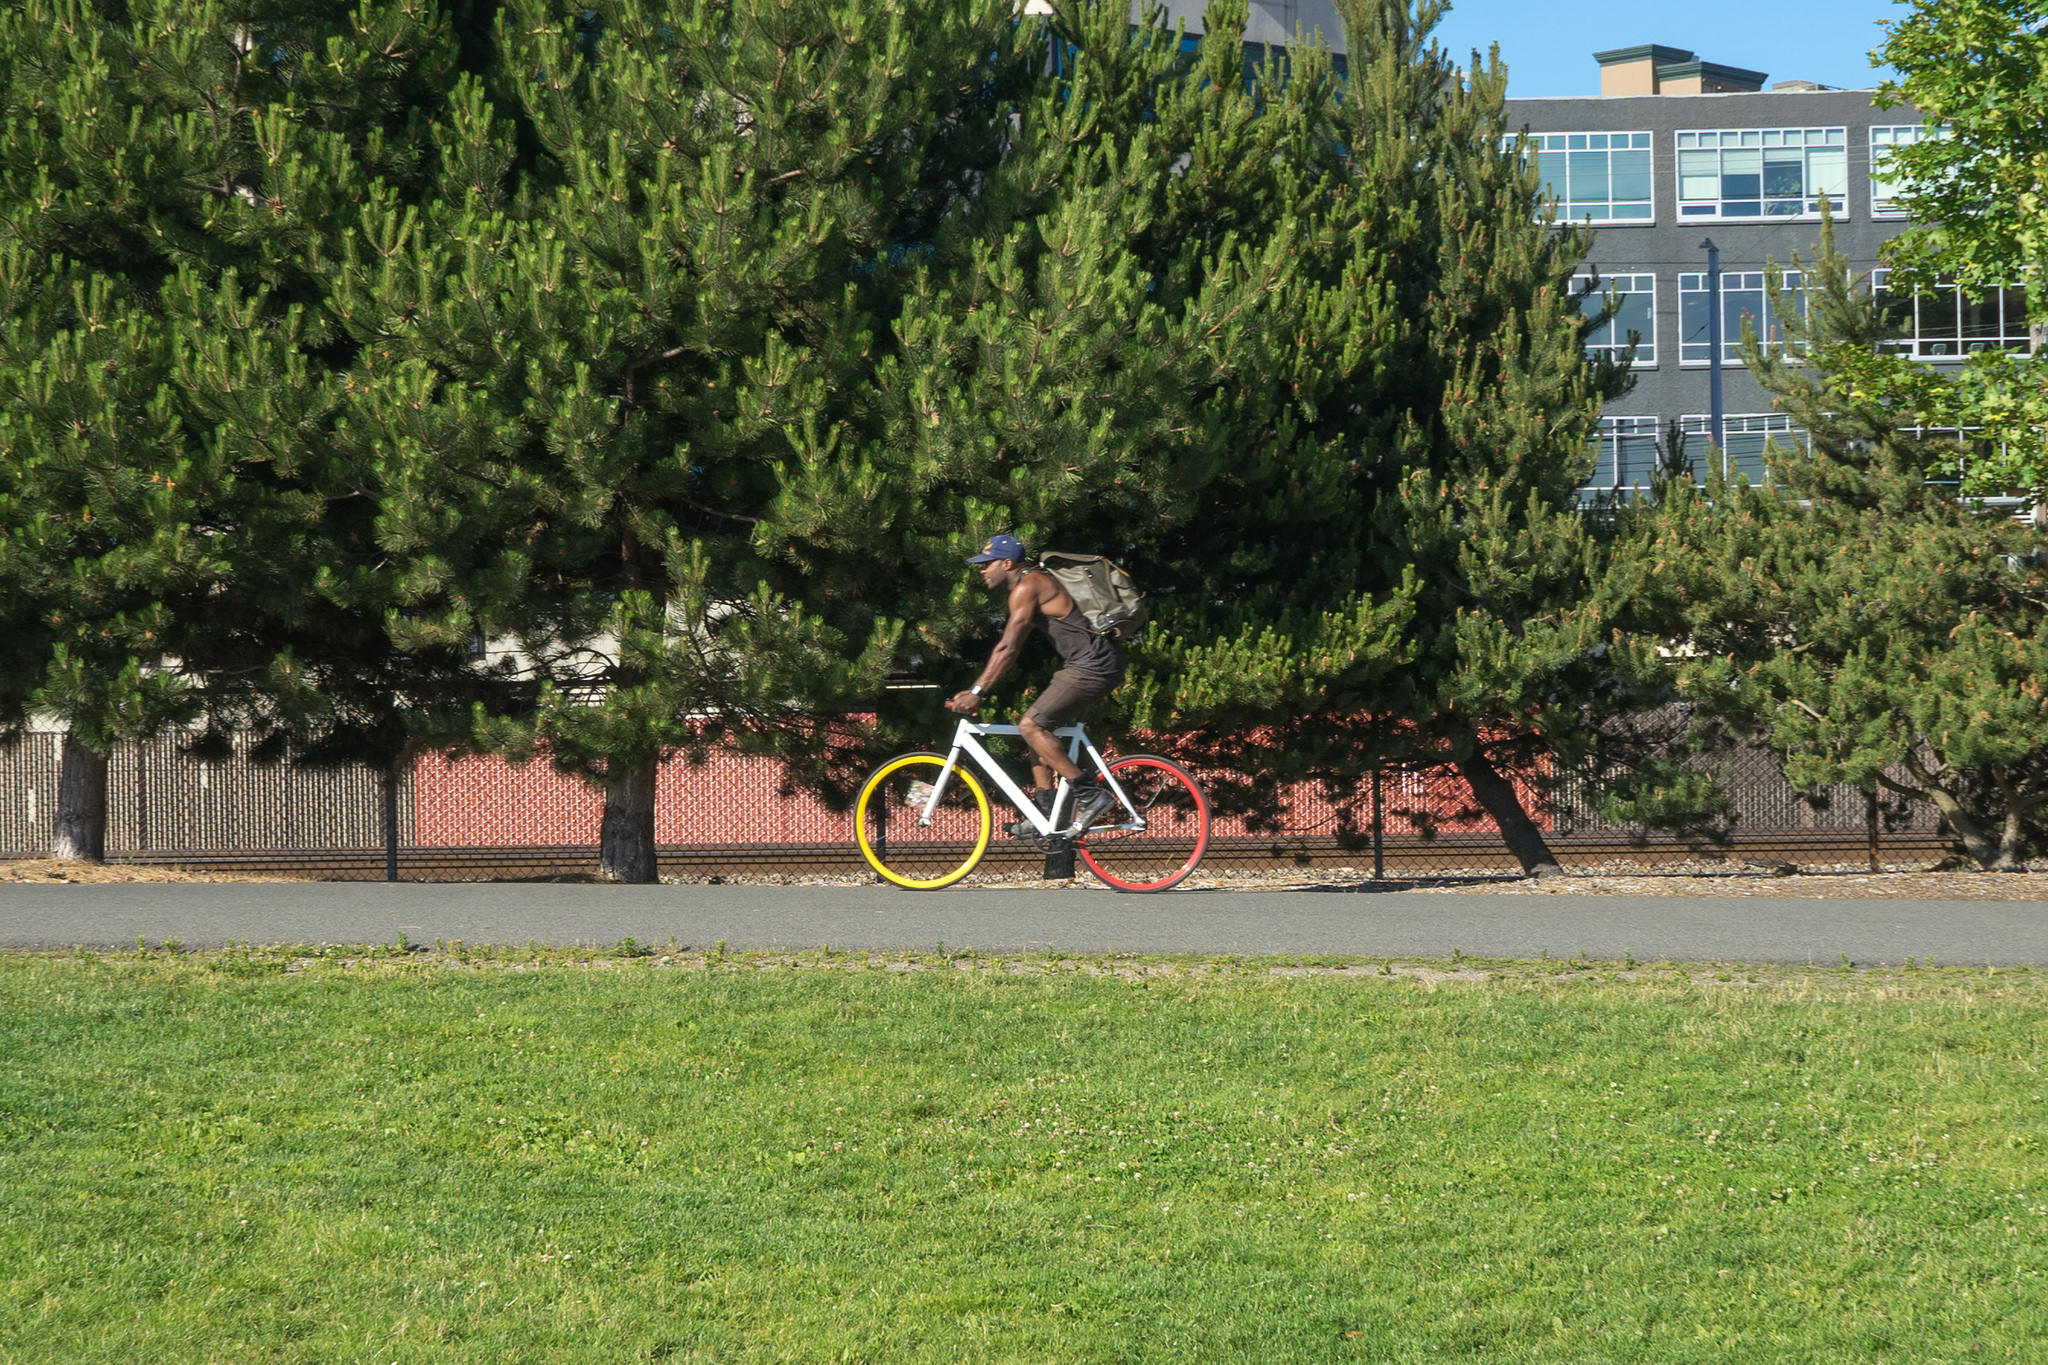
Velocipede.

Velocipede.

The relationship between shutter speed and aperture is easy to learn, but difficult to master. One tool that every camera has is the light meter, a built in calculator that determines what the best settings to use in relation to achieve proper exposure. When you look through your viewfinder, you'll see a set of tick marks, with one that moves left or right when you change aperture or shutter speed. The goal is to get the tick mark in the middle, not too far on either side. If your shutter speed is too fast, your photo will come out too dark, underexposed. If your shutter speed is too slow, your photo will come out too bright, overexposed. Most of the time, it's that simple. When you're outside on a sunny day, taking photos of flowers with your aperture at f2.8, your light meter will tell you that your shutter speed should be fast, something like 1/1000. Now, if you change your f-stop to f5.6, you'll notice at shutter speed 1/1000, the exposure is darker. This is how the aperture and shutter speed work together, I like to think of it as a balancing act. As your aperture closes up, you're letting less light in, so how do you compensate? You slow down your shutter speed, allowing more light in over time. You could say it's the relationship of space and time, aperture lets more light to hit the sensor by allowing more coverage, and shutter lets more light in by allowing more time. 

Like the movies!

Like the movies!

So how to you use aperture and shutter speed together artistically? Well, that's entirely up to you! Think about the relationship, and what you want to show with your image. If you're doing street photography, you might want to keep a relatively broad depth of field, but you want a quick shutter speed so your subject isn't blurry. Same goes for sports photography, if you want to get the moment that foot meets football, focus on having a faster shutter speed, and if your exposure is still too dark, open up the aperture to compensate. If you want to show motion blur, like the above Star Wars reenactment, you'll want to slow your shutter speed to get the cool light trail effect. You'll notice though, that if you're trying to achieve a motion blur effect during the day, your image will only become brighter and brighter as you slow your shutter speed. The best way to compensate is to simply close your aperture, thus darkening your exposure. This is how the balance works, if your exposure is too bright but you want to retain your shutter speed, change your aperture. Same goes for if your exposure is too dark, open the aperture to get more light hitting the sensor. Keeping in mind this balance will help you immensely, especially when your vision calls for certain settings, but your exposure just isn't what you want it to be. 

Too slow!

Too slow!

I hope this installment was helpful, stay tuned for next week, where I'll be explaining ISO, the final pillar of Exposure, and how all three pillars work together to help you create the best photos! Please sound off in the comments if you have any questions, thoughts, comments!

Exposure Part One: The Almighty Aperture

In manual photography, you learn to think about many things. From a technical standpoint, you want to think about achieving perfect exposure. As you may know, exposure is made from three important pillars: Shutter Speed, Aperture, and ISO. Now, the true art of photography is not just learning how to use these in concert, but using them to your advantage to translate the visualization of the image you want into reality. Today, I'll focus on Aperture. 

It's all in the details. 

It's all in the details. 

Using the simplest terms, aperture just means opening. A way for light to travel through the lens. Now, the aperture on the camera isn't so simple, but it has only one mechanic: open and close. Some lenses open wider, some close tighter. This is primarily to let in more or less light, to affect the exposure of the overall image. But, this is not the true purpose of the aperture, only it's relation to exposure. The real purpose, and reason the aperture gives you creative control is much more interesting. 

Color and Rust.

Color and Rust.

When you take photos of still life subjects, be they flowers, trees, buildings, animals, even models, the first thing you want to consider is what your focal point should be. Imagine a table with a lamp on the far edge, a small porcelain figurine of a cat a few inches in front of it, and in front of the cat, a stack of pink erasers almost touching the front edge. You decide that you only want the porcelain cat to be your focal point, and you don't want anything else to be in focus. That last part, not wanting anything else in focus, that means we want a "shallow depth of field". It's an intimidating, technical term, but its very simple to visualize.

Starting with a low aperture value, aka f-stop, say f1.8, you find that if you focus your lens manually, very few things are in focus at a time. As you bring your focus one way, you'll see the erasers are in focus, turn it all the way the other way, the erasers turn into pink blobs, but the lamp shows definition. When you turn it back, the porcelain cat becomes in focus. Now, what do you do when you want everything in focus? Well, this is when you change your f-stop, thus changing the depth of field, or the about of objects in focus at once. As you change the f-stop, the aperture is shrinking to a smaller hole. But as the size of the aperture shrinks, less light comes into the lens, and affects your exposure, but we won't get into that too much right now.

When the light comes into your camera through a narrower hole, it brings things that were once out of focus, into focus. So if you move your f-stop to f8, you will see that now the pink erasers are in focus, along with the porcelain cat. Move it again to f16, and now the lamp is in focus, without even having to move the focus ring one bit. I find it helpful to visualize in my head that my depth of field is a three dimensional slice, almost like a slice of bread. At f1.8 the slice is very thin, and only highlights the porcelain cat. At f8, the slice is bigger now, so it encompasses the porcelain cat, and the erasers. If you were to move your focus ring, you'd be able to move focus from the erasers and porcelain cat to the porcelain cat and lamp. Imagine just moving the slice from one point in space close to you, to a few inches further into space. The slice doesn't change size unless you change the aperture. 

Museum of Non Flying Planes.

Museum of Non Flying Planes.

So, how does this relate to you and your photography? Well, like I mentioned before, if you're taking photos of objects that are relatively still, you will want to think about aperture first. When you first start out with photography, it's tempting to think only about exposure, but the way you find your voice is making decisions based on your vision, what your eye is drawn to, not just what gives you perfect exposure. So if you are taking photos of a row of tulips, you may decide to only focus on one, two, or even the entire row. There's no right way to take the photo, so it's your artistic license to choose. 

Lost in a sea of concrete and sky.

Lost in a sea of concrete and sky.

Now that you've mastered understanding aperture and depth of field, let me give you another nugget of knowledge. The relative distance of the camera of the subject does effect depth of field. The closer you are to the object, the smaller the aforementioned slices become. Imagine you're taking a photo of a face, and you're right up in the subject's grill. At a very low f-stop, say f1.8, your slice becomes razor thin, to the point that you might only be able to focus on the nose, the eyes, or the ears, but not all at once. If the subject takes a few steps back, you'll notice that the subject's face is now completely in focus. This is due to the way light travels through the lens, which is a fairly complicated physics function, but I won't go into that.

The best way to really grasp the above information is to go out and experiment! Set your camera to the lowest f-stop value, be it f1.4, f2.0, whatever is smallest, and switch to manual focus. Take photos of objects on a table, take photos of flowers in your garden, take photos of buildings and experiment with high apertures like f10, f16, even f20! Find what kinds of depth of field you like best, and sound off in the comments!